So here are some screen shots of the layers I used while making this Amelie painting (so far)
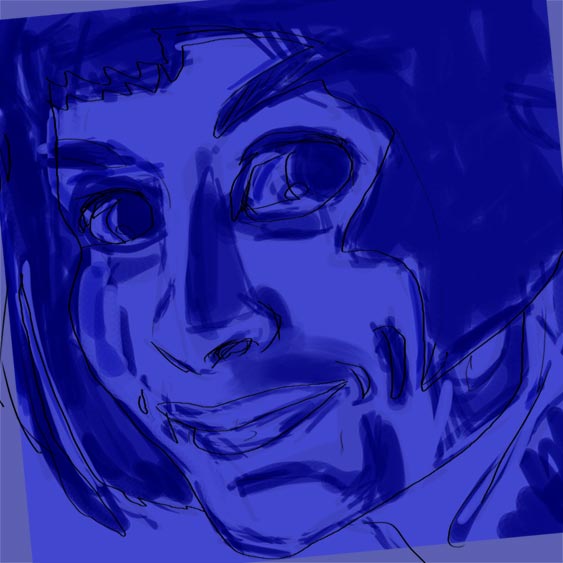
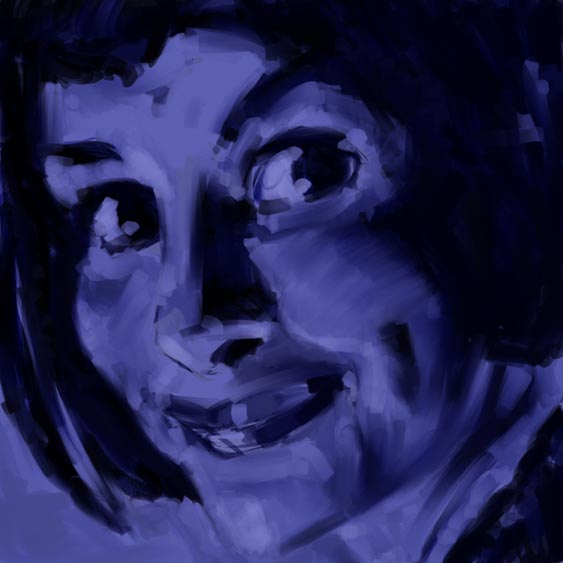
I started off with a blue background and used an airbrush tool to block in the shapes. I adjusted the size and opacity of the brush throughout. Then I rotated the canvas just a bit to get the angle I wanted and set the layer to overlay
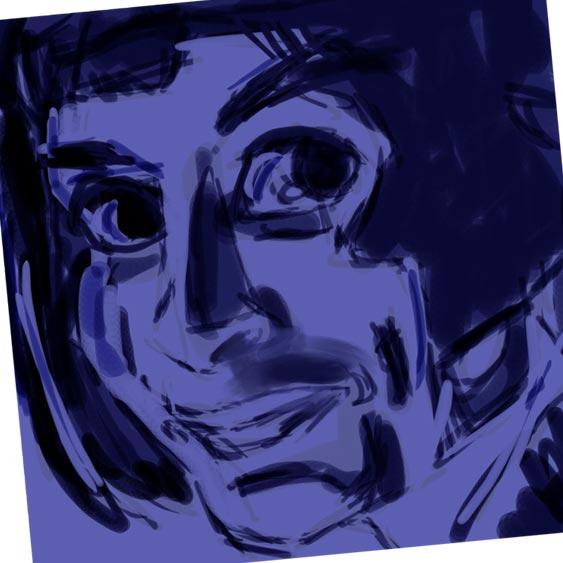
I began “working” on the duplicated layer with the oil paint brush and eye dropper to grab the different shades of blue I was creating. I tried to keep the brush as big as I could so I didn’t get hemmed down with details. What I wanted to do was create a tonal sketch. The image below shows all 4 layers. (1. The initial sketch 2. The blue layer 3. The line drawing 4. The “oil” painting)
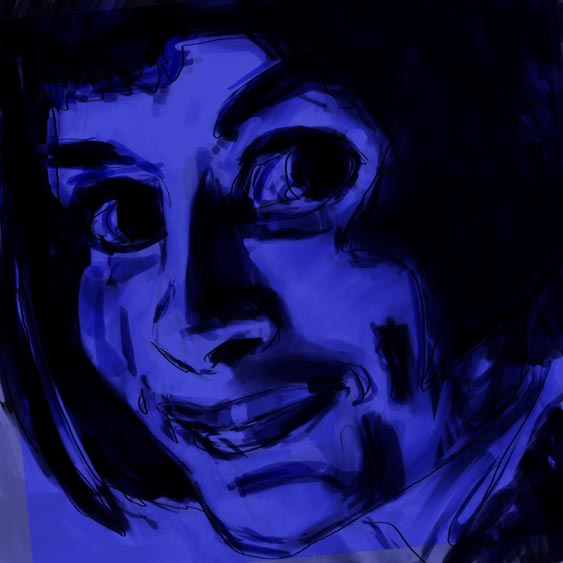
I would turn the initial sketch and line drawing off (or reduce the opacity) from time to time to check the progress.
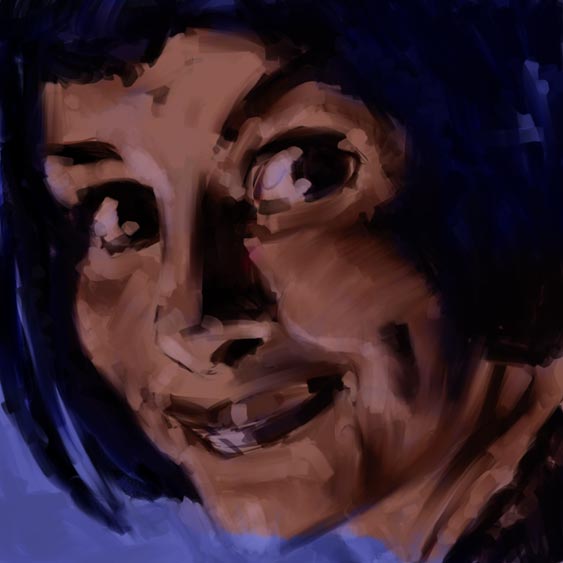
I needed to add some highlights and since the lightest blue on my painting wasn’t light enough for me, I created a new layer and laid down some transparent near whites… which brings you to the image I posted earlier.
***edit***
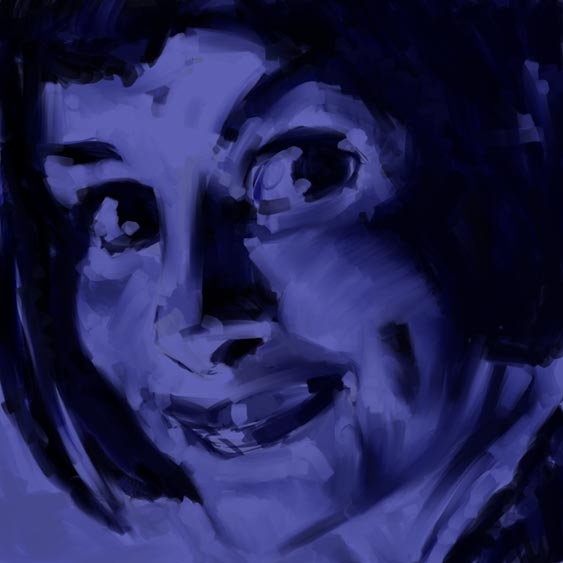
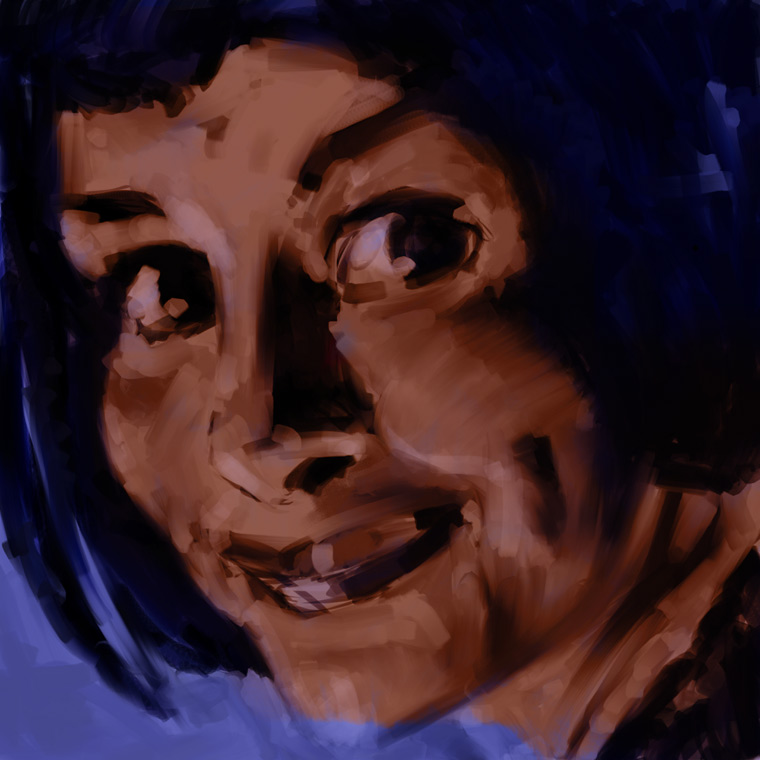
Just a small update on this image… I adjusted the position of the eye a bit:
Looking good. I like seeing each step – very cool. Have you worked on it anymore?